Workflow Group Setup
You will learn how to add Workflow and Users into the Workflow Group.
You will learn
- How to add/change Workflow in the Workflow Group
- How to add/change User in the Workflow Group
|
1 |
Step 1: Create a new Workflow Group |
-
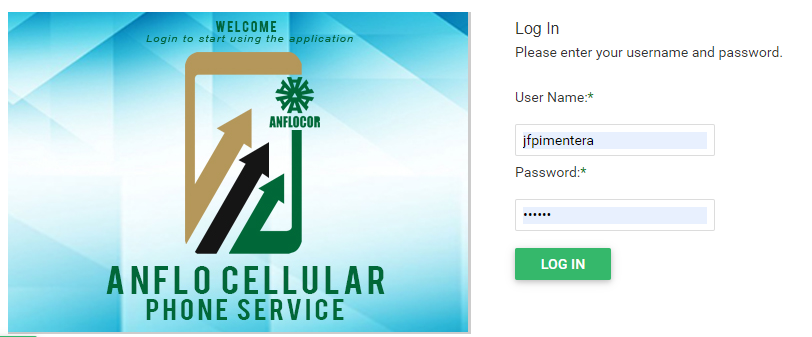
Log in to the ACPS system using username and password (Active Directory)
-
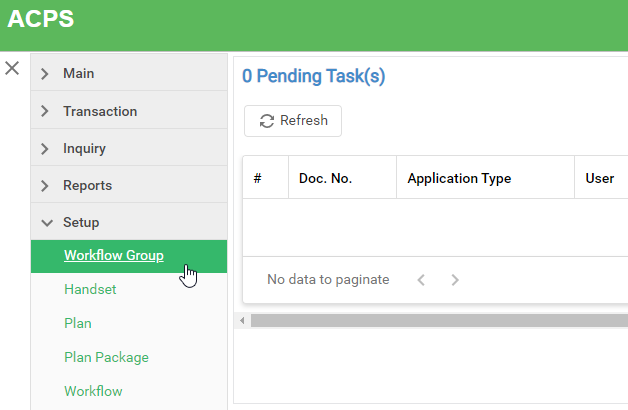
Under Setup section in your menu, select Workflow button
-
Click the New button and enter workflow group info.
Note: You can customize with your preferred name and description

-
Click the Save Changes button located at bottom right corner of the table.

|
2 |
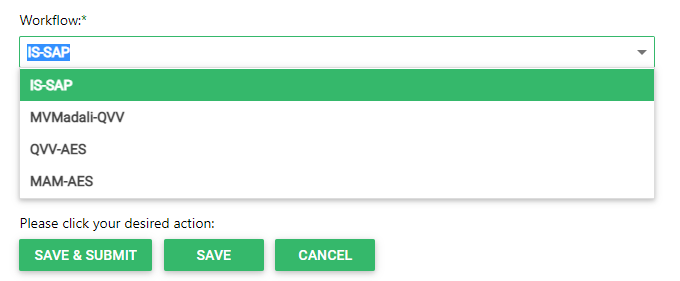
Step 2: Add Workflow(s) |
-
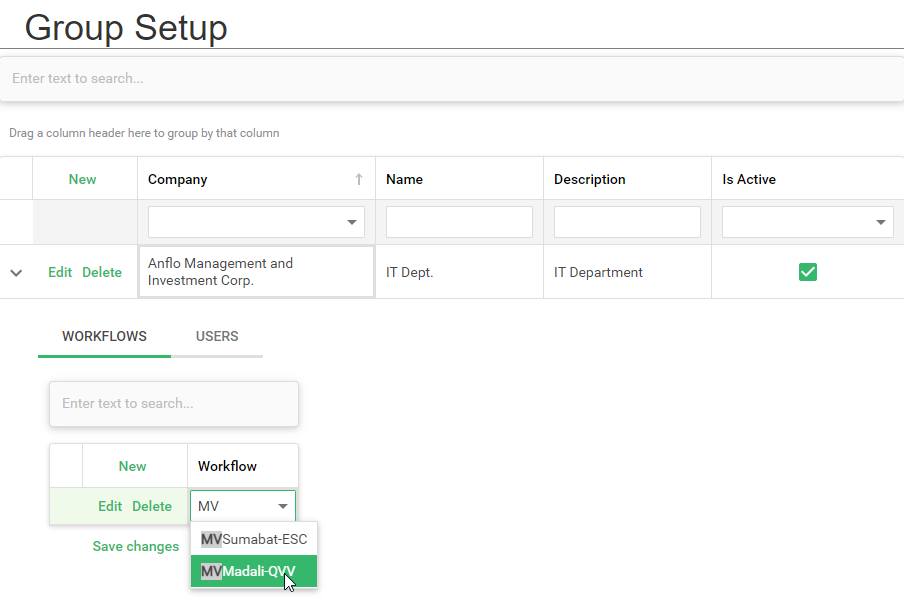
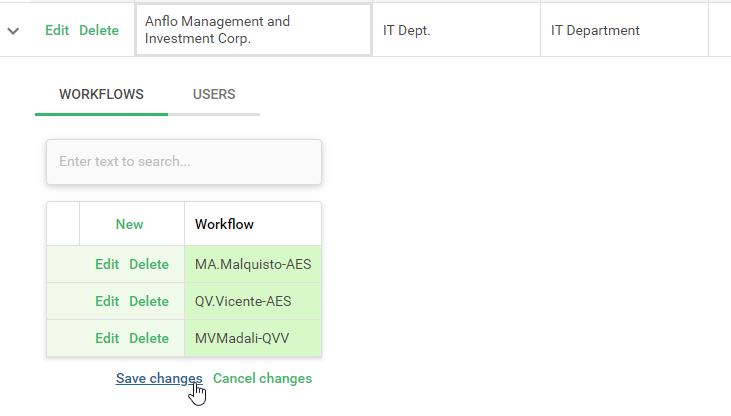
Expand Workflow Group record and select the WORKFLOWS tab then click the New button to insert workflow. Search the desired workflow to inclulde in the group. Then click the Save Changes button to save.
-
Note: You can add one or more workflow in the group
|
3 |
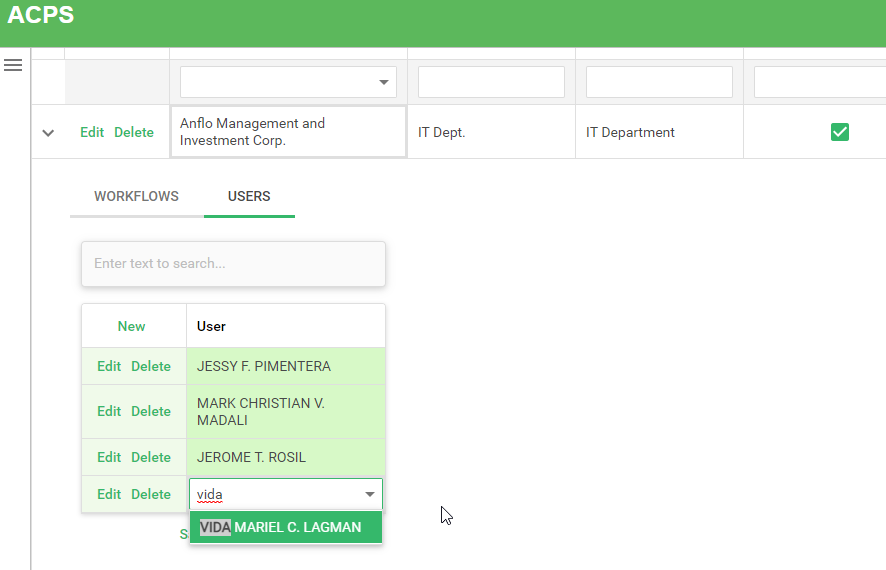
Step 3: Add User(s) |
-
Expand Workflow Group record and select the USERS tab then click the New button to insert user(s). Search the user(s) to inclulde in the group. Then click the Save Changes button to save.
-
Workflows are now assigned to user
Prerequisites
- Go to the online ACPS system using this url https://acps.anflocor.com/ or click Here
- User must have an Admin access to the system