Workflow Setup
You will learn how to configure a Workflow.
You will learn
- How to setup Workflow
- How to add/change steps in the Workflow
- How to add/change approvers in the Workflow Steps
- How to setup Workflow Group
- How to add Workflow(s) in the Workflow Group
- How to add User(s) in the Workflow Group
|
1 |
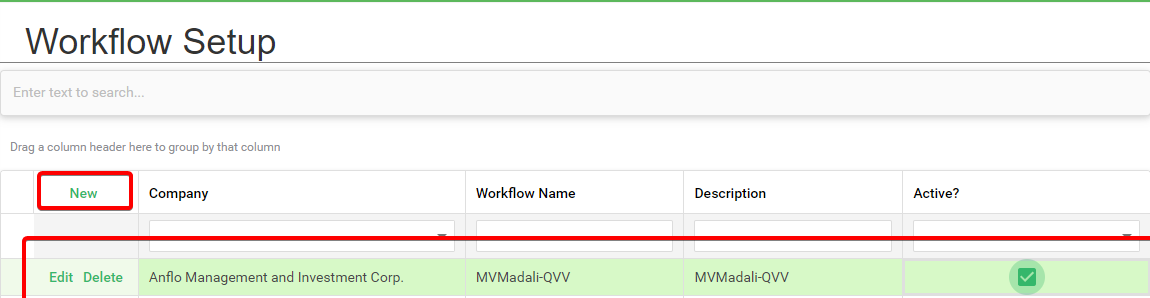
Step 1: Create a new Workflow |
-
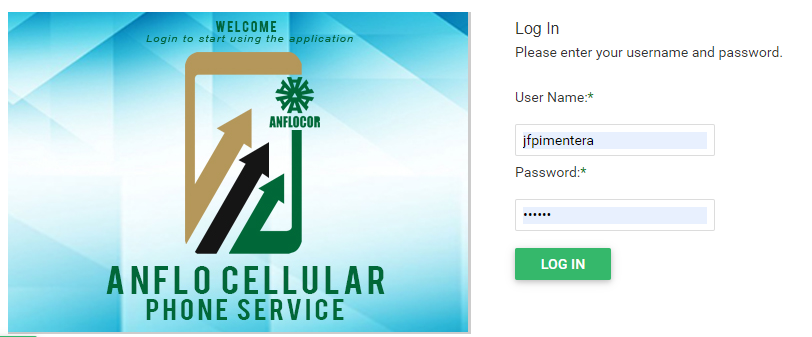
Log in to the ACPS system using username and password (Active Directory)
-
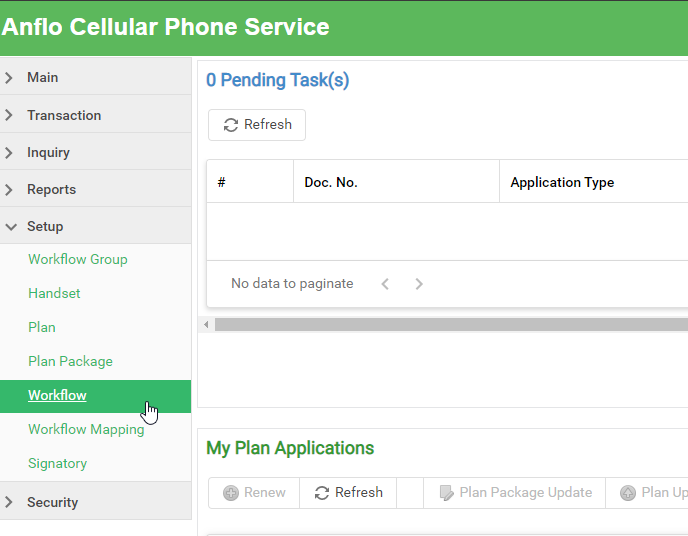
Under Setup section in your menu, select Workflow button
-
Click the New button and enter workflow info.
Note: Workflow Name and Description are based on who are the approvers (you can customize with your preferred name and description).
-
Click the Save Changes button located at bottom right corner of the table.

|
2 |
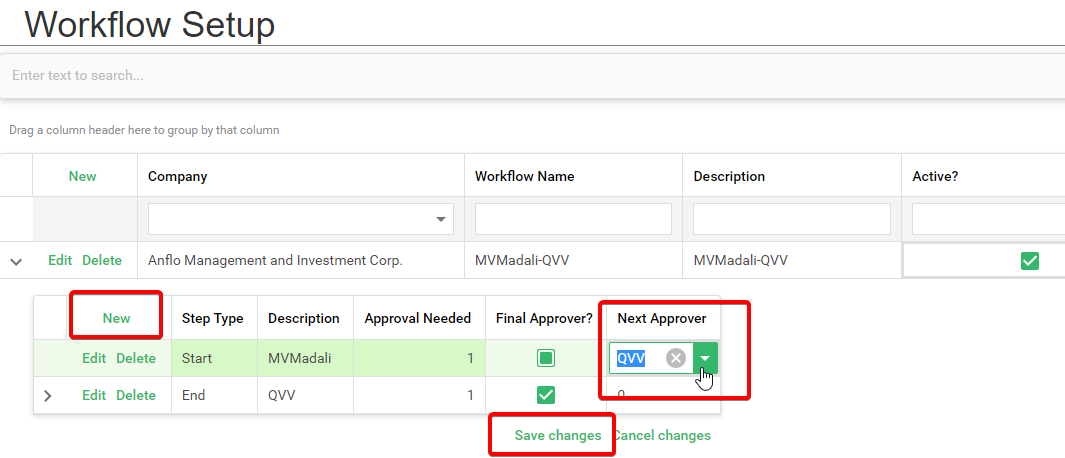
Step 2: Add Workflow Steps |
-
Expand Workflow record and click the New button to insert step. Enter data for last approver step. Then Save Changes.
- Step Type = End
- Description = Approver Desc. (your preference)
- Approval Needed = approval count before proceeding to next step
- Final Approver = Tick

-
Click again the New button to insert step. Enter data for first approver step. Then Save Changes.
- Step Type = Start
- Description = Approver Desc. (your preference)
- Approval Needed = approval count before proceeding to next step
- Final Approver = Untick
- Next Approver = Select the Final Approver Desc.
|
3 |
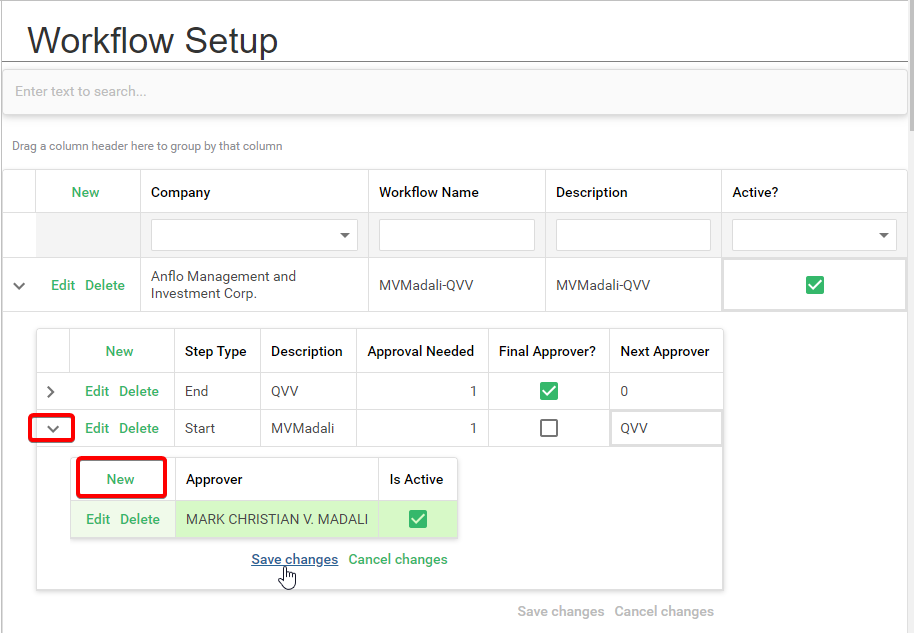
Step 3: Add Approver(s) in the Workflow Step |
-
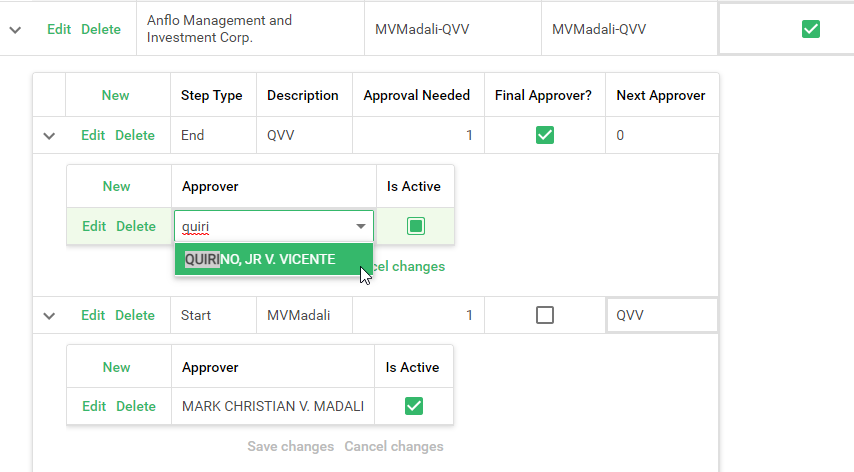
Expand step record and click the New button to insert record. Assign desired employee to approve.
-
Do the same with other Workflow Steps
Prerequisites
- Go to the online ACPS system using this url https://acps.anflocor.com/ or click Here
- User must have an Admin access to the system